SMTP Setup Guide
To setup the SMTP to gmail follow the following steps.
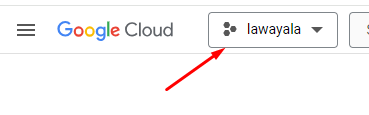
- Go to this URL https://console.cloud.google.com/
- Click on the box near Google Cloud logo and a popup will appear.
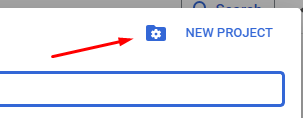
- Once the popup box appears click on “New Project” to create a new project board
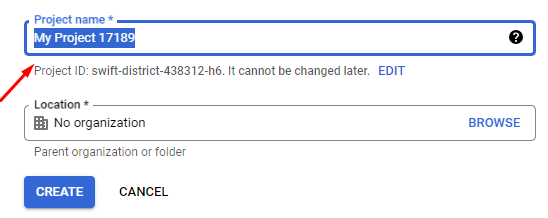
- Enter project name as per the site name just to easy tracking in future.
- After the project creation Once again click on the box beside logo and the popup will appear again. Then select the project name you created and this will redirect you to the project dashboard.
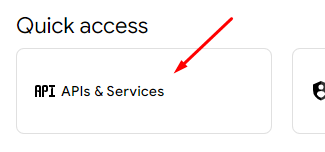
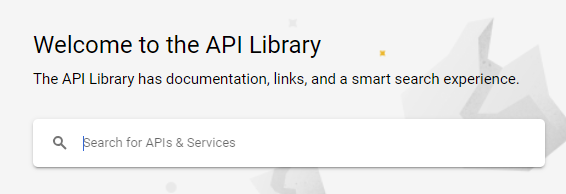
- Here on Quick Access section you will find a box named “API’s & Services”. This will redirect you to the API & Services dashboard. From here the next instructions start.
- On API & Services dashboard click on the button “Enable API’s & Services”.
- Search for Gmail from the search box.
- You will see GMAIL API click on this and you will redirect to GMAIL API page
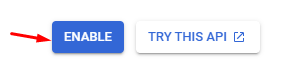
- From here click on “Enable” Button.
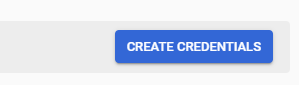
- You will redirect to another page and the very right corner will see “Create Credentials” button. Click on it.
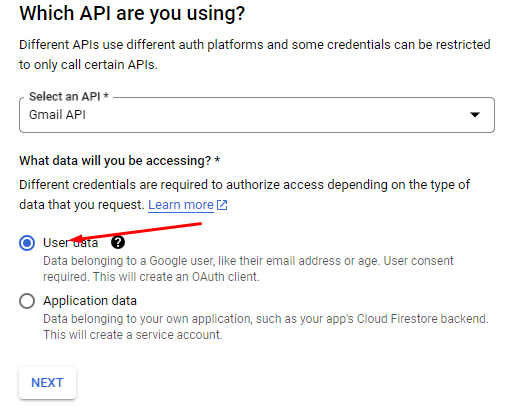
- Select “User Data” from the radio button and click on “Next” button.
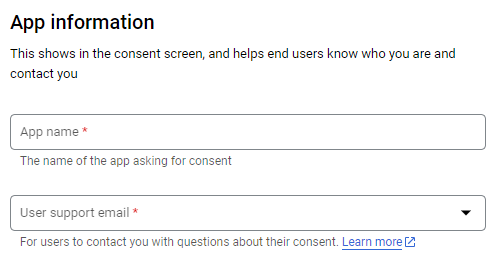
- Give App Name as per your website name and enter your email as Support Email which one you are using to setup SMTP.
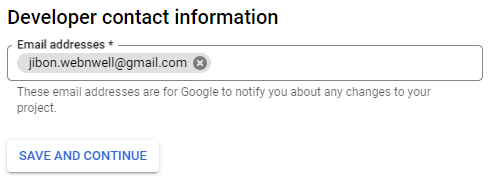
- Keep scrolling to the part “Developer & Contact Information”. Here enter the mail you are using for SMTP setup.
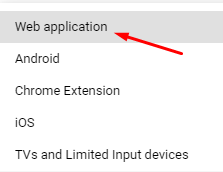
- On OAuth Client ID select the application type “Web APP”.
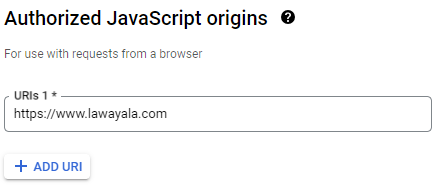
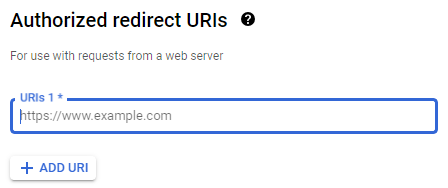
- Now scroll to the Authorized Javascript Origins and on the box you will need to place your website URL with https. Follow the format below example.
- Now move on to the Authorized Redirect User. Here is a tricky thing you will need to do. Go to the SMTP plugin you installed and find out the URL on the plugin.
Suppose you installed WP-SMTP plugin. If you select gmail on that plugin you will find the URL from there. - Once all information provided. “Create” button will appear below. Click on the button.
- Once the credentials created click the button “Done”.
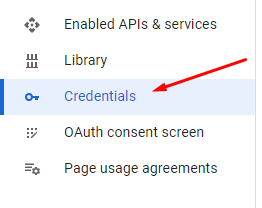
- Now Click on “Credentials” from the left sidebar.
- From OAuth 2.0 Client ID’s click on the id you created. You will redirect to the client ID page
- On the top right corner Addition Information you will see “Client ID”. Copy that ID and paste it on your SMTP plugins Client ID Field.
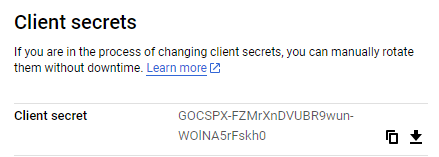
- Below Client ID will find Client Secrets. From there copy the Secret Key and paste it on your SMTP plugins Secret Key Field.
- Now on your SMTP plugin dashboard click on “Allow plugin to send email using your google account” button.
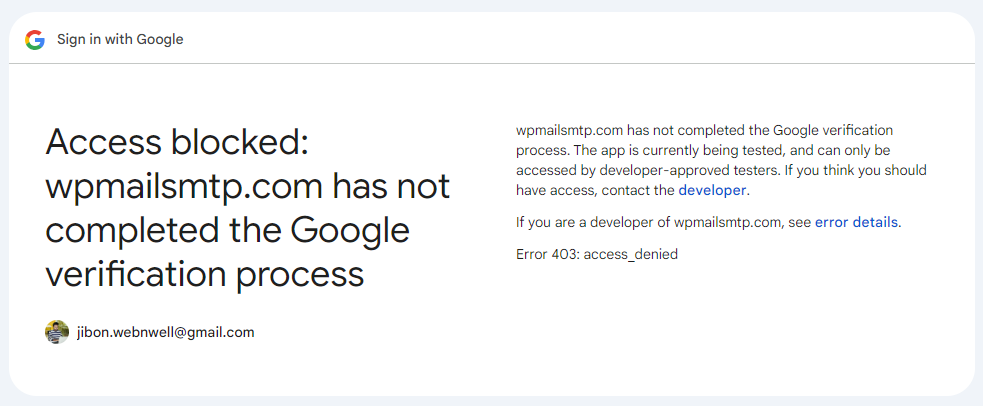
- Now select the mail and after finishing all the steps one error will show up. Example is below.
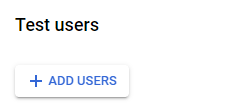
To solve this issue will need to follow some more steps. - From left sidebar select “OAuth consent screen” and the page you redirect scroll to the section “Test Users”.
- Now click on the button “Add User”.
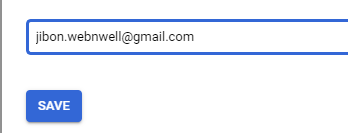
- Enter the email you will authenticate with, or enter the email you are using for setup SMTP and click on “Save”
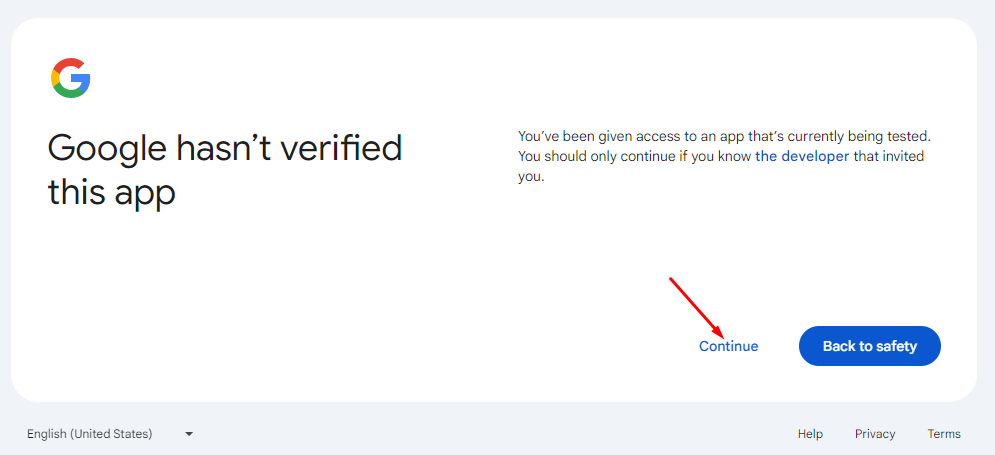
- Now go to your plugin and again click the “Allow Plugin button” and follow the previous process of selecting email etc. Now you will see this message below
Click on Continue and keep doing continue whatever message says.
Finally your SMTP setup done.
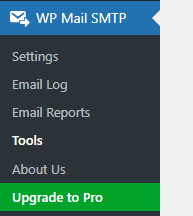
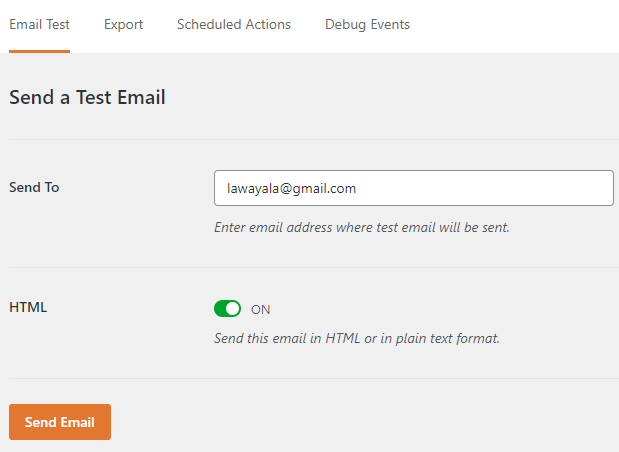
If you want to check the connection, follow below steps. - From WordPress Dashboard goto WP Mail SMTP> Tools.
- Enter the mail you want to receive email and click on “Send Email” button.